I just want a volume knob!
In my last post I went on a trip down memory lane when I eventually mentioned considering “re-installing the stock equipment” on my old car to prepare for sale. This quickly turned into cleaning it up and spending even more money on car audio instead.

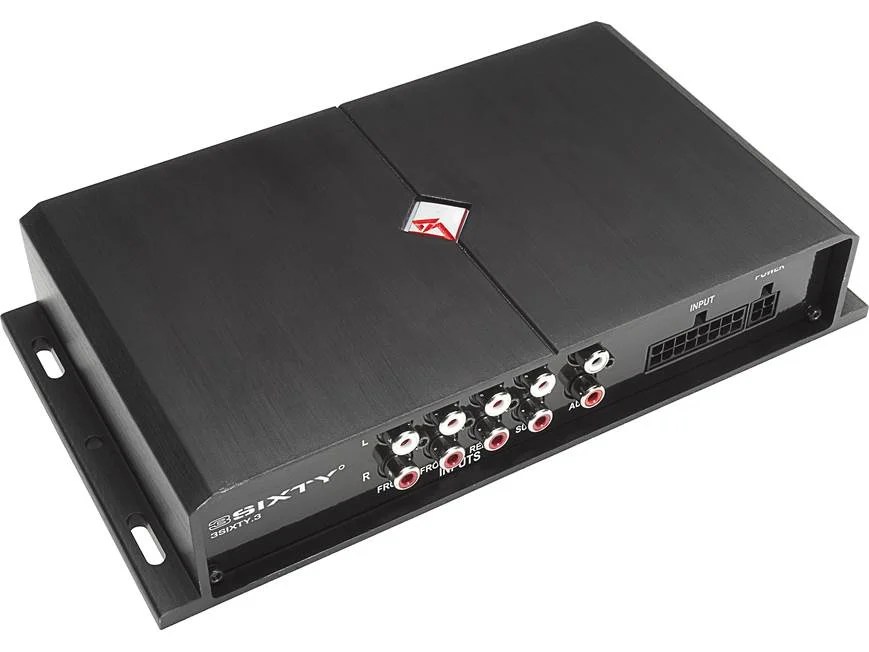
The last working versions of my car sound revolved around a Rockford Fosgate 3Sixty.3 DSP. The stock door speakers were bi-amped and the DSP let me use a 4-channel amp to power them without adding any passive crossovers. Unfortunately, the DSP no longer powers up, so I started to catch up on what a modern replacement would look like.
Instead of spending a bunch of cash for another DSP in a car which I barely drive, I ended up looking for head-units that had onboard 2-way/3-way crossover mode, Android Auto, decently hot pre-outs, and a volume knob.
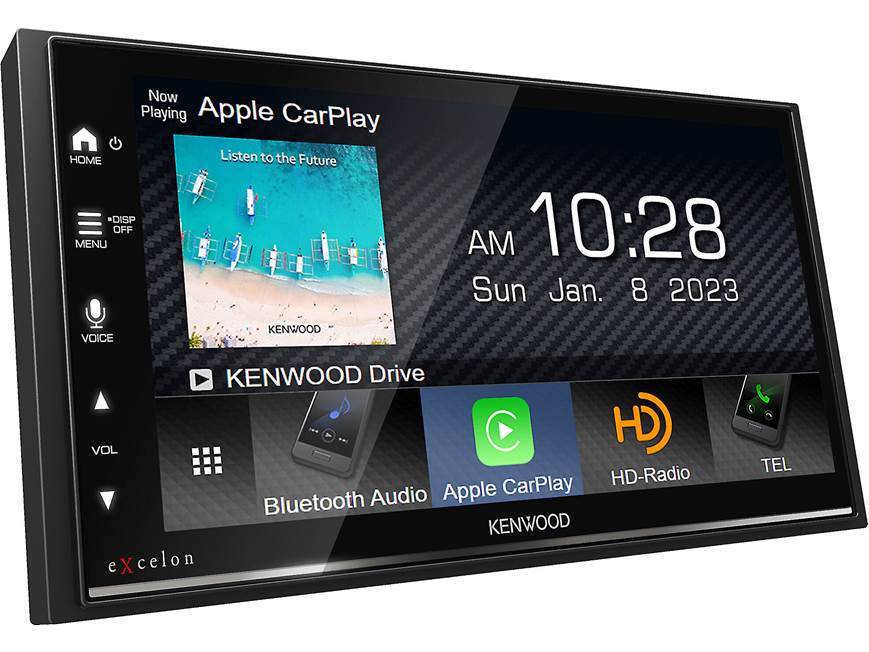
To spare you from all of the mind numbing comparisons, I’ll skip ahead to me landing on a Kenwood eXcelon DMX809S. You might notice that it doesn’t have that volume knob I wanted. While choosing the right radio, I learned that not many units would fit the other requirements AND have a knob. So I decided I’d just add a knob myself, how hard could it be?
I knew from previous radios that the wired remote control input wire was just a ladder of different resistors, so I started buying components to fit this assumption. An Arduino Pro Micro (ATmega32U4), a pack of EC11 Rotary Encoders, and a digital potentiometer seemed like they would be a good combo, so I ordered and waited.
The assumption was wrong
When I eventually sat down long enough to research the values and start writing the software, I learned that the Kenwood doesn’t use resistor values like Pioneer or Sony radios do. It instead accepts NEC IR codes pulsed on the remote control wire.
This is the part of every hardware project that I never account for going in. The thing I assumed was the whole project — a ladder of resistors and a digital pot to fake it — turned out to be the one thing this radio didn’t want. And the thing I assumed was trivial, getting an ATmega32U4 to bit-bang NEC timing cleanly on an open-drain pin while simultaneously watching a rotary encoder on hardware interrupts, is where all of the actual work went.
The digital pot didn’t go to waste, though. Since the code had to be written anyway, it made sense to support both output paths: bit-banged NEC for the Kenwood, and an MCP4151 digital potentiometer over SPI for the Pioneer and Sony units that really do want to see a physical resistance change. One box, either kind of radio.
And since the Arduino has ADC inputs sitting right there, I also put it to work converting the car’s analog (resistor ladder) steering wheel buttons into NEC commands to control the radio. The assumption I started with turned out to be true — just on the input side of the box instead of the output side.
Handing over the reins
After some quick proof-of-concept work proving I could get the Arduino to reliably read a rotary encoder and read specific ADC values off the steering wheel, I handed the reins to an AI to re-implement the whole thing.
I want to be specific about what that means here, because it isn’t the same thing it means in my next post.
This was a project I was entirely capable of writing myself. I knew what the architecture should be, I knew what the edge cases were, and I essentially dictated the thing I would have built and had the agent type it. That’s the honest description: not “the AI designed this,” but “I described my own implementation out loud and something else did the keystrokes.” Where it earned its keep was in the surrounding scaffolding I would have been too lazy to build for a one-off box:
- A Nix development environment via Google Antigravity, so
arduino-cliand the AVR toolchain stay pinned instead of rotting - A wiring diagram written in Mermaid, with SVG generation wired into the build steps, so the diagram can’t drift from the documentation
- A non-blocking serial CLI at 115200 baud, so the button-to-command mapping can be re-tuned and saved to EEPROM in the car, with a laptop on the passenger seat, instead of by reflashing
- Configuration expressed in real-world ohms rather than raw ADC values, with the ADC windows calculated from the pull-up — because future me will not remember what
412meant - Presets, so a GM ’04-’08 button map loads in one command
None of that is clever. All of it is the kind of thing that turns a proof of concept into something another person could actually use, and all of it is the kind of thing I historically skip.
The other thing I did before letting it write anything: I sat down and wrote it a rules file. This is a Nix project. Don’t run builds on the host. Always go through nix develop. Respect the memory and feature constraints of an ATmega32U4.
In the car
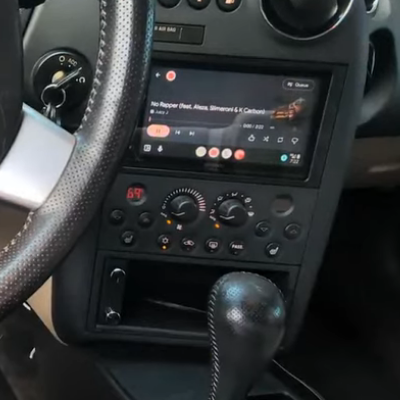
I used matching knobs to combine the rotary encoder and an analog volume knob (for the bass amp) in a project box similar enough to the wired remote from the Fosgate DSP that it feels the same to use.


After much back-and-forth and several re-writes, I finally deployed the adapter in the car. I turn the knob and the volume goes up. That’s the whole feature. That’s the entire thing I set out to build. It was completely worth it.
What’s next
Six weeks after I finished this, I started another project the same way, and it did not go the same way at all.
That one is an M5Stack Cardputer ADV that controls my house through Home Assistant, and the difference isn’t the hardware. On this project I dictated an implementation I already had in my head. On that one I handed over a vision and shaped the result, and I have barely looked at the code. It went about forty times faster and I understand it differently. Not less, exactly, but differently, and I’m still working out how I feel about that.
That’s the next post.